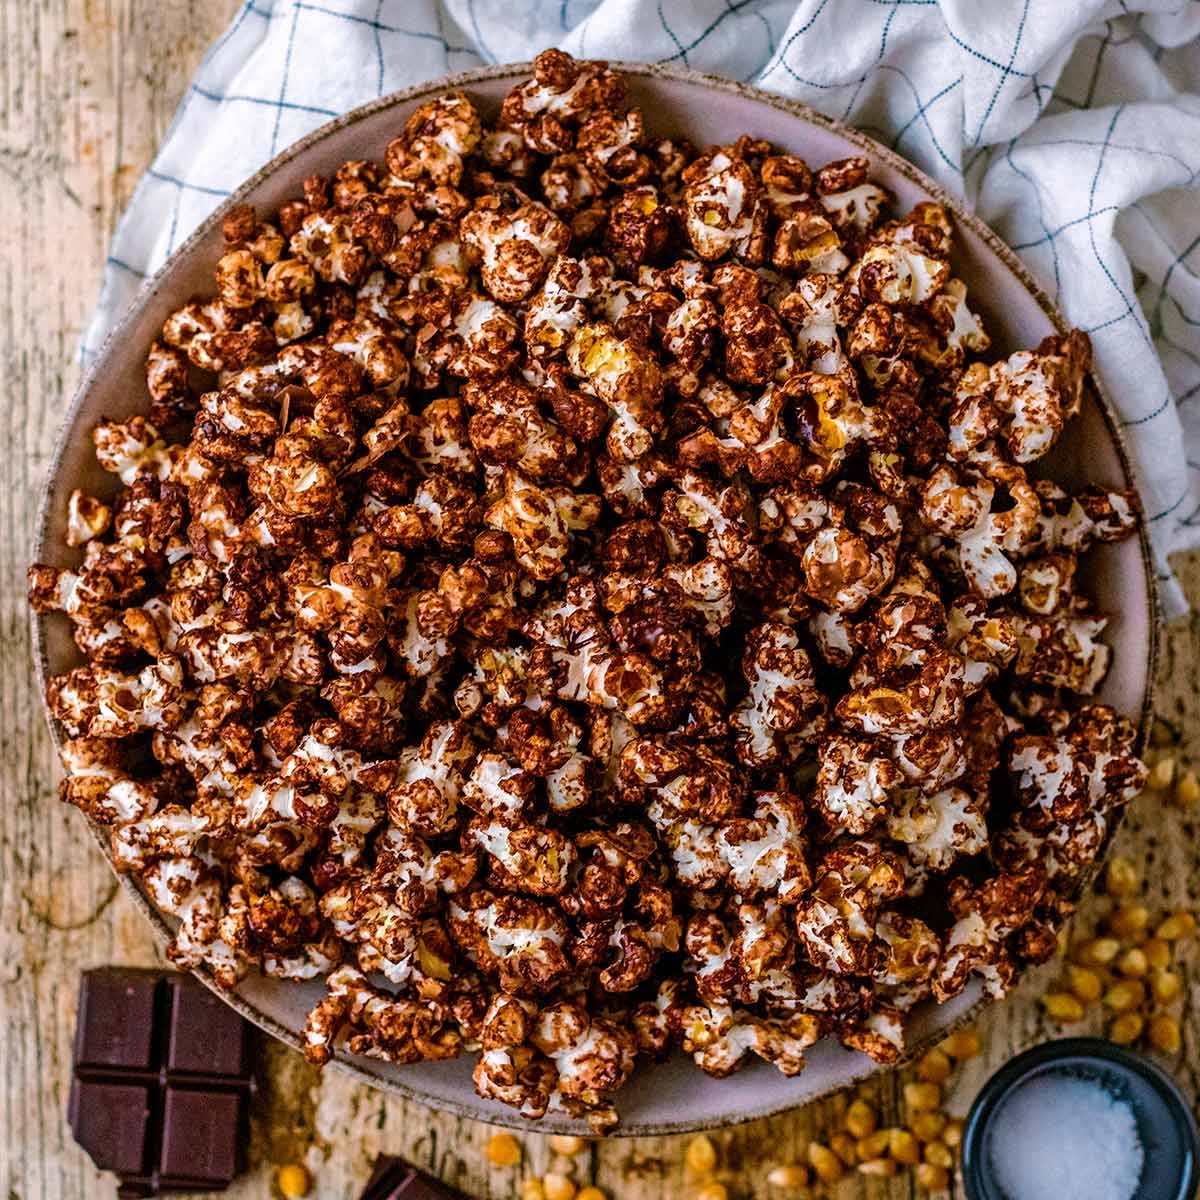
If you’re a chocolate lover like me, you’re going to fall in love with this one. Chocolate popcorn is one of those treats that look fancy but are surprisingly simple to make at home. The crispy texture of the popcorn, mixed with that smooth, rich chocolate coating, is everything you want in a snack. Sweet, crunchy, and perfectly satisfying.
I’ve made this chocolate popcorn recipe more times than I can count, and it never fails to make people smile. Whether you’re watching a movie, hosting friends, or just craving something sweet, this chocolate popcorn recipe fits right in. It’s homemade, quick, and doesn’t require any special tools or ingredients, just a few basics and a little patience.
What I love most about it is how the chocolate clings to each kernel, creating that perfect crunch with every bite. You can make it light and crisp or rich and chocolatey, depending on how you like it. Personally, I think this is the best way to enjoy popcorn. It’s fun to make, it smells amazing while cooking, and it tastes even better than anything you’ll buy at a store. So, if you’ve never tried chocolate popcorn before, trust me! it’s worth it. Follow along, and I’ll walk you through each step to get that perfect balance of sweetness, crunch, and chocolate flavor. Once you make it, you’ll understand why it’s one of my personal favorites.
Ingredients
To make this delicious homemade chocolate popcorn recipe, you’ll only need a few simple ingredients. Nothing fancy, just basic things you probably already have in your kitchen.
Here’s what you’ll need:
1. Popped Popcorn
Start with a fresh batch of popcorn. You can use store-bought plain popcorn, but I always recommend making it yourself; it tastes so much better. If you’ve never made homemade popcorn before, check out this recipe of stovetop popcorn for an easy step-by-step guide. Freshly popped corn is lighter, crisper, and perfect for holding that chocolate coating.
2. Sugar
Granulated sugar works best here. It melts smoothly and gives the chocolate mixture that rich sweetness you want. You don’t need to overthink it; plain white sugar will do the trick perfectly.
3. Butter
Use unsalted butter if you can. It gives you full control over the saltiness of your popcorn. But if you only have salted butter on hand, that’s fine too. Just skip the extra salt later. The butter adds a smooth, rich flavor and helps the chocolate coat the popcorn evenly.
4. Corn Syrup
This ingredient helps hold everything together and gives the chocolate coating that glossy, crunchy finish. It keeps your popcorn from turning grainy and adds a little chew to the texture.
5. Cocoa Powder
The star of the show. Use unsweetened cocoa powder for the best results. It gives the popcorn that deep, chocolatey flavor without being overly sweet. If you’re a dark chocolate fan, you can even use a darker cocoa for a more intense taste.
6. Salt
Just a pinch of salt makes all the difference. It balances out the sweetness and makes the chocolate flavor pop. Remember, if you’re using salted butter, you can skip this part.
7. Baking Soda
This is the secret ingredient. When you add baking soda to the hot chocolate mixture, it creates tiny air bubbles that make the coating light and foamy. This helps the chocolate stick beautifully to the popcorn and keeps it crisp instead of hard.
Follow These Steps
Alright, let’s make some chocolate magic happen. Grab your pot, roll up your sleeves, and let’s get started!
Step 1:
Add ¾ cup of butter to your pot and place it over medium heat. Let it melt slowly; it’s the base of your chocolate coating, and we want it smooth and silky. You’ll know it’s ready when the kitchen starts smelling warm and buttery.
Step 2:
Pour in 1 cup of sugar. Give it a gentle stir so it starts to blend with the butter. You’ll see it turning glossy. That’s exactly what we want.
Step 3:
Next, add ½ cup of corn syrup. This is what gives the chocolate mix that perfect, shiny, crisp texture once it cools.
Step 4:
Add ½ teaspoon of salt to balance the sweetness. Don’t skip this part, it’s the secret to keeping the chocolate flavor rich instead of overly sweet.
Step 5:
Now, time for the good stuff. ½ cup of cocoa powder. Stir it in slowly so it doesn’t puff up everywhere (trust me, cocoa dust travels faster than you think!). You’ll see the mix turning darker and thicker. That’s your chocolate sauce coming to life.
Step 6:
Keep stirring until the mixture starts to boil. The smell at this stage is unreal! Rich, chocolatey, and buttery all at once.
Step 7:
Once it starts boiling, stop stirring. I know it’s tempting, but resist! Let it boil untouched for 5 minutes. This step helps the caramelization work its magic, giving the coating that deep chocolate flavor with a hint of crunch once it cools.
Chef’s Tip: If you keep stirring during this stage, the mixture won’t set properly later. Think of this as your chocolate’s “resting” time, just let it bubble away.
Step 8:
After 5 minutes, remove the pot from the heat and add ½ teaspoon of baking soda.
Step 9:
Now give it a good stir. This is the fun part. You’ll see it foam up and lighten in texture. That reaction is what makes the chocolate coating airy and crisp instead of rock-hard.
Step 10:
Take 10 cups of popped popcorn (and make sure to remove any unpopped kernels, your teeth will thank you later!).
Step 11:
Pour your hot chocolate mix right over the popcorn. Grab a spatula and mix well until every piece is coated evenly. It might take a minute or two, but it’s worth it. Every bite should have that perfect chocolate layer.
Chef’s Tip: Work quickly here; the chocolate mixture thickens as it cools. If you move too slowly, you’ll end up with uneven coating.
Step 12:
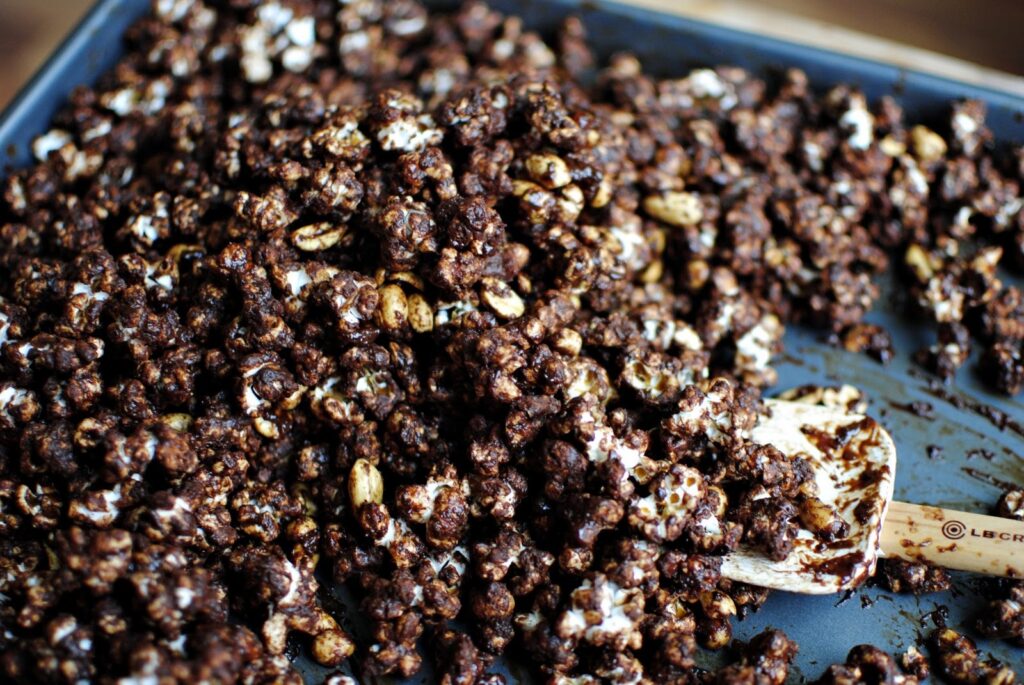
Spread your coated popcorn evenly over a baking sheet lined with parchment paper.
Step 13:
Pop it into the oven at 250°F (120°C) for 30 minutes. Stir it every 10 minutes while it bakes. This helps the coating set evenly and keeps the popcorn crunchy instead of sticky.
Step 14:
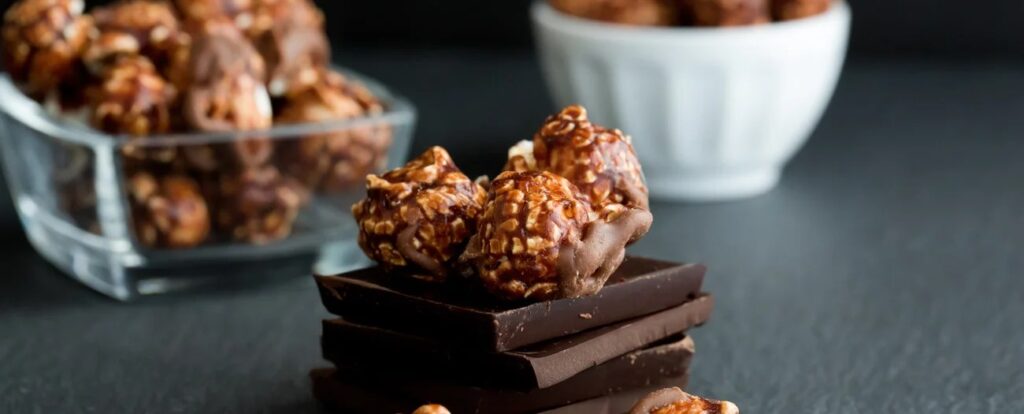
Once it’s done, let it cool completely. The chocolate will harden up beautifully. Break it into pieces, grab a handful, and enjoy your homemade chocolate popcorn!
It’s sweet, crunchy, and coated with real chocolate flavor, the kind that makes you want to keep snacking. Perfect for movie nights, parties, or when you just want to treat yourself to something special.
For a classic sweet version, check out this caramel popcorn recipe.
Chef’s Tips
- Use fresh popcorn: The fresher your popcorn, the better it’ll hold the chocolate coating. If it’s stale or chewy, the chocolate won’t stick as well.
- Mix fast, coat evenly: Once the chocolate mixture is ready, move quickly. The caramelized chocolate thickens as it cools, so working fast ensures every kernel gets a nice, even coating.
- For extra crunch: After baking, turn off the oven and let the popcorn sit inside for an extra 5–10 minutes. The residual heat gives it an extra crisp finish.
- Storage tip: Once completely cooled, store your chocolate popcorn in an airtight container. It’ll stay fresh and crunchy for up to a week (if it even lasts that long!).
- Make it your own: Want a twist? Drizzle melted white chocolate over it once cooled for a double chocolate treat.